
Replacing a Wenger Legacy Basic Acoustical Shell Panel
/File under “don’t try this at home.”
Last year, someone damage the top panel of one of our Wenger acoustical shells. It’s the panel that folds up and down and can be set at one of several angles, and my guess is that someone was too rough with it. The braces connecting the panel to the joint where it pivots were pushing into the panel itself and didn’t seem safe to use any more. So, this summer I called Wenger to ask about getting a replacement panel.
Although the shell has a label that says something like “Don’t try to remove or repair this panel!”, there were no other options for us. After the panel arrived, our facilities manager and I took a closer look at the shell to figure out how to safely remove the old panel and replace it with the new one.
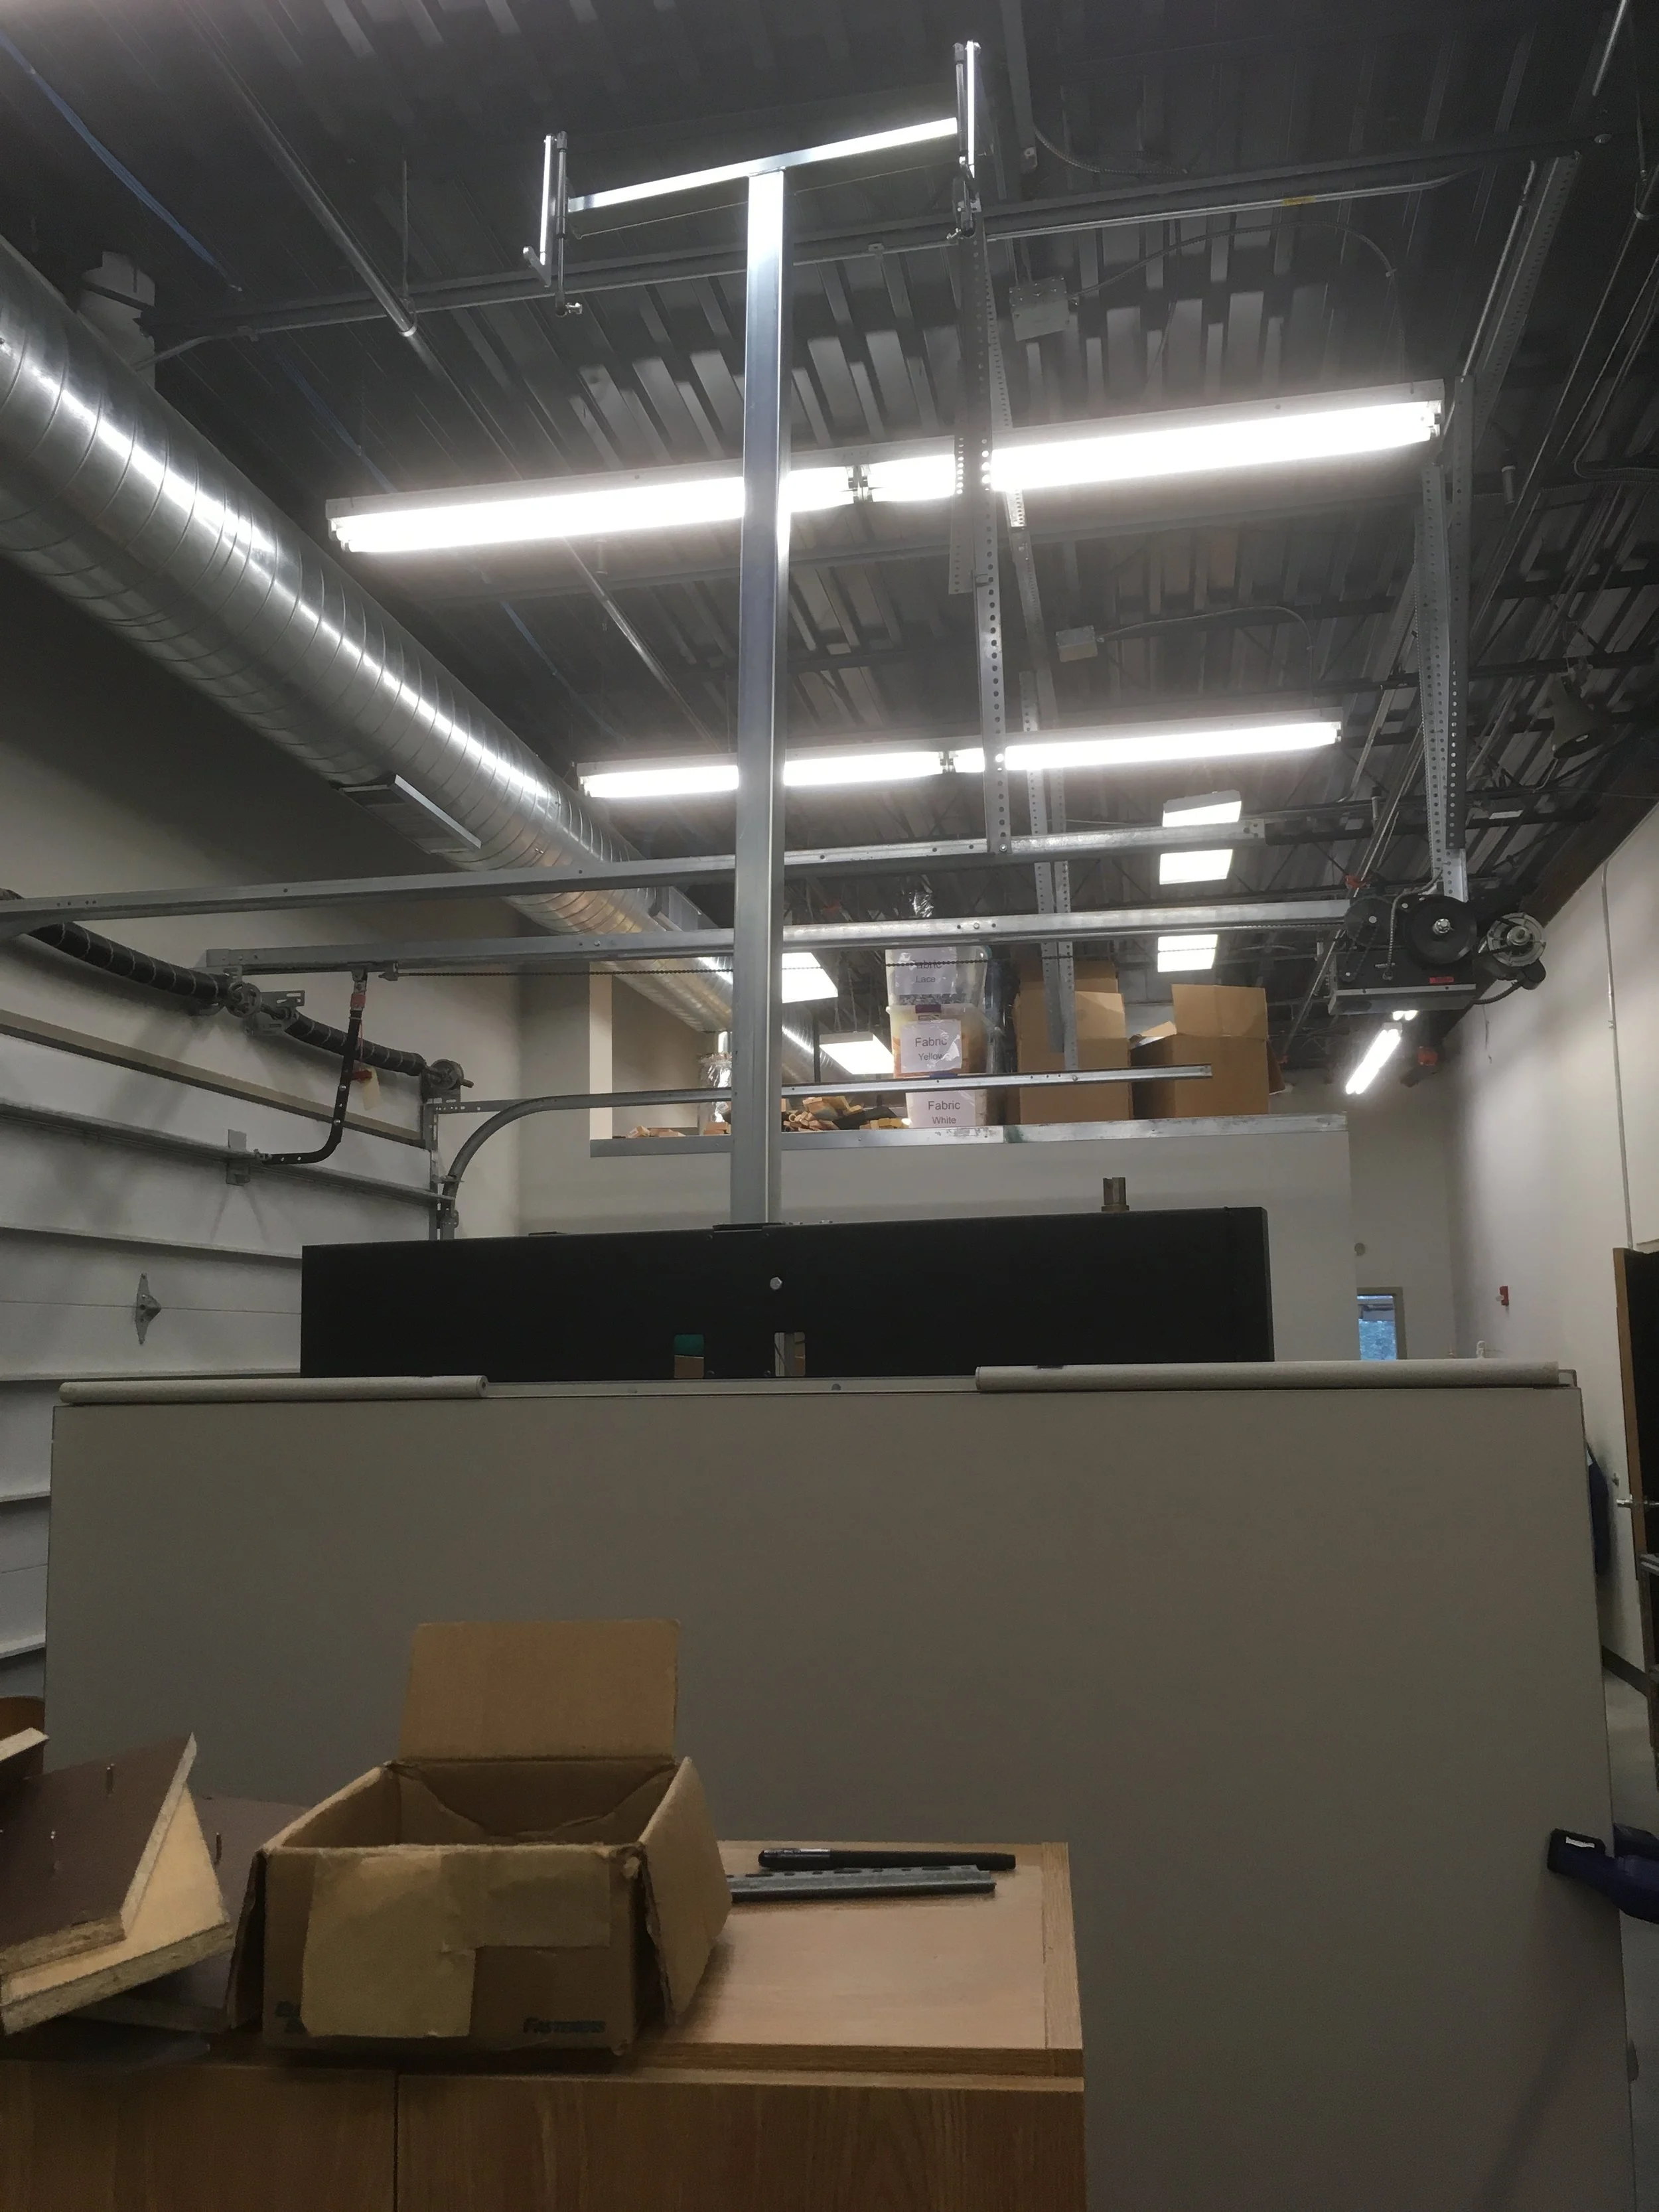
First up, we had to remove the top panel. We tried to careful to relieve pressure on the gas lift supports, but it didn’t matter much. When the panel is folded down, they are close to being fully extended. While I wouldn’t want to take one in the eye, they didn’t seem to pose a lot of risk.
Second, we had to remove the pins that held the top panel to the middle panel at the hinge. A pair of pliers were helpful to grip the pin guide at each end. This is where things get a little dangerous and difficult. Without someone holding onto the top panel when you remove the pins, it will fall to the floor. Worse, if there isn’t anyone keeping tension on the crank on the back, the lift arm will shoot up to its maximum height very quickly when the top panel is removed. (We may have learned this the hard way). If you mess up this part, you have to put enough tension on the lift arm to allow someone to turn the hand crank slowly back to the bottom position.

It probably requires 4-5 people to do the job. After the old panel was removed, we put the new one back, replacing the pins first and then reattaching the lift supports.